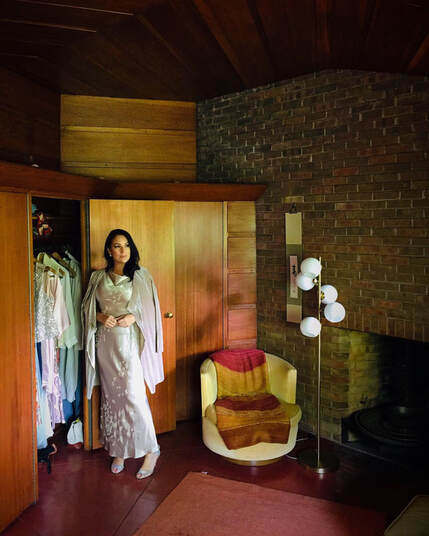
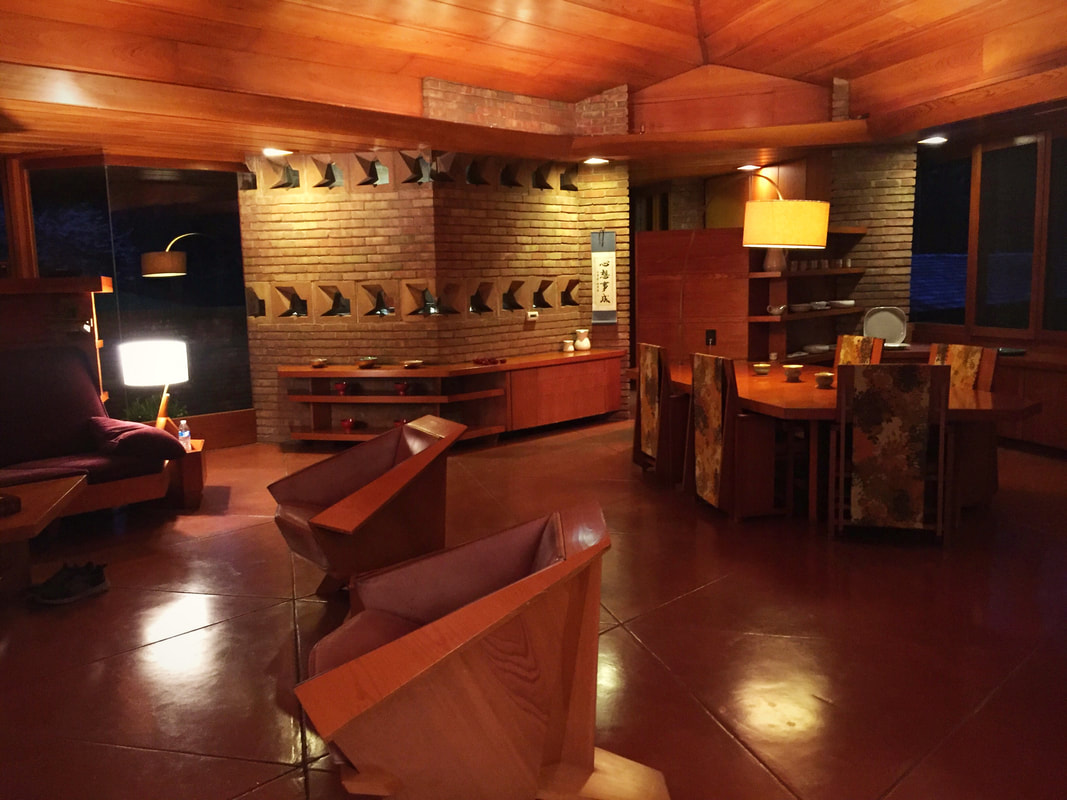
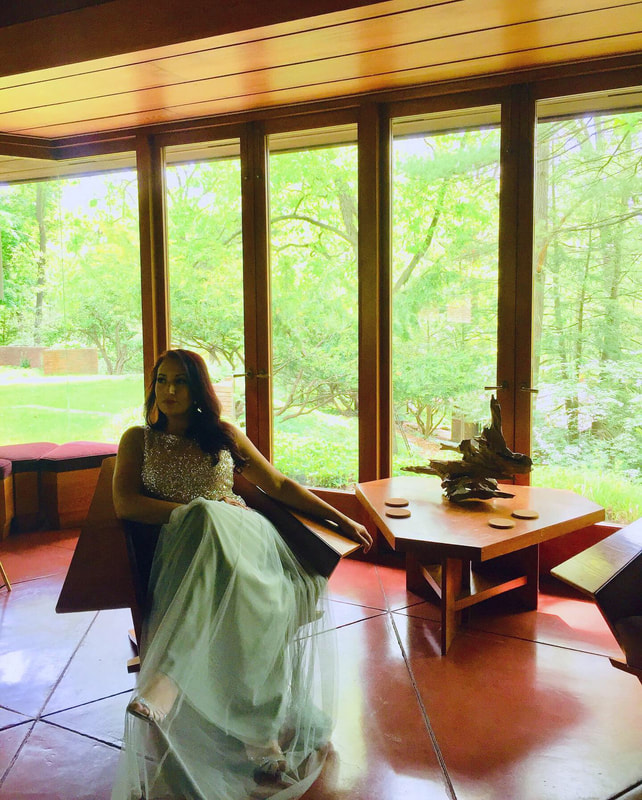
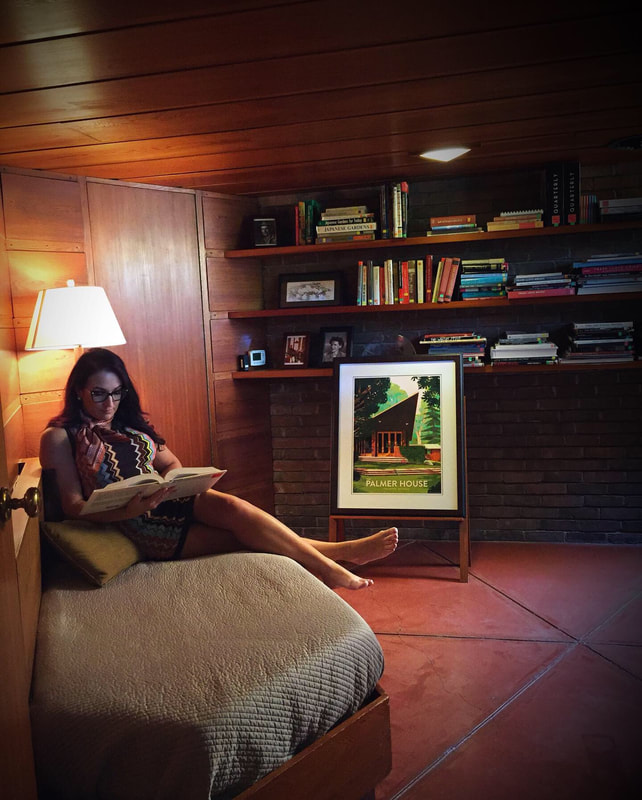
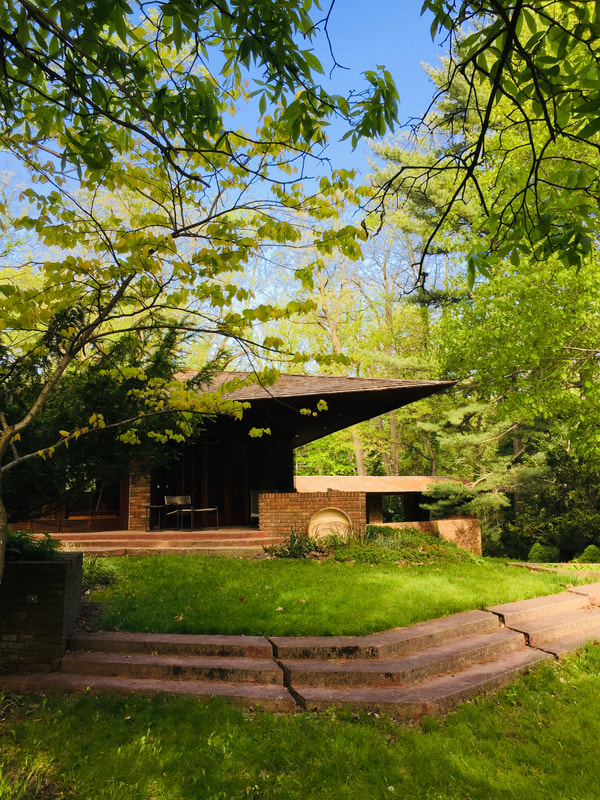
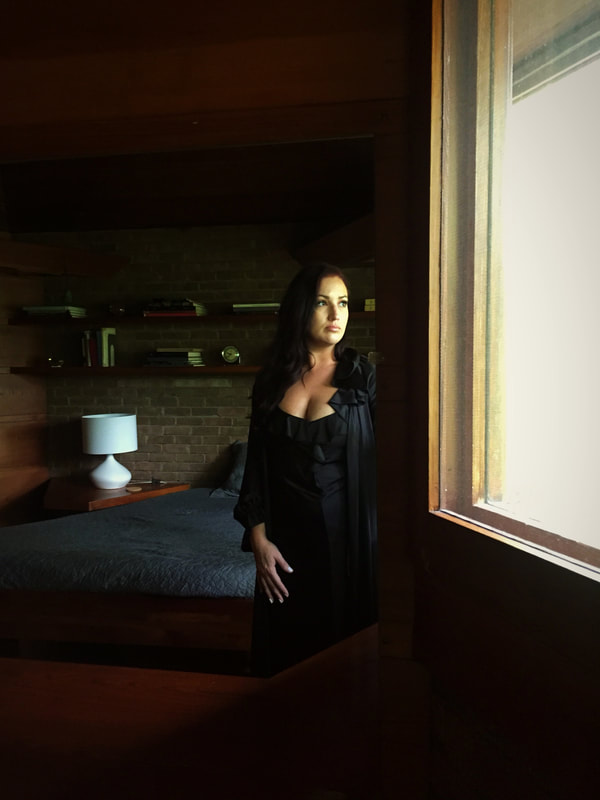
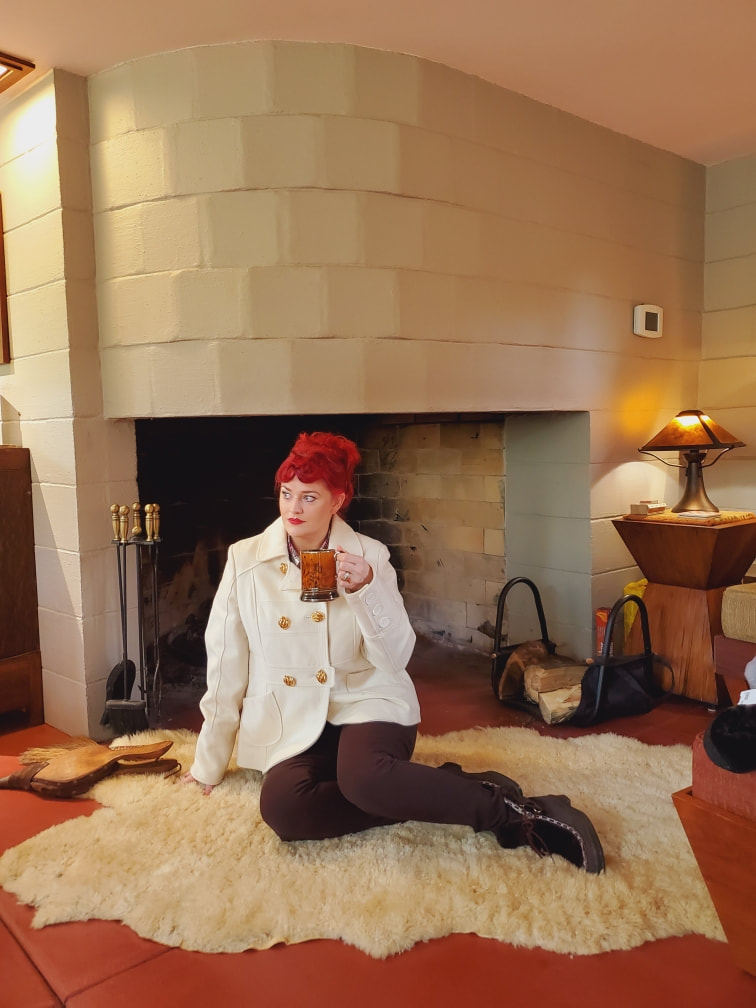
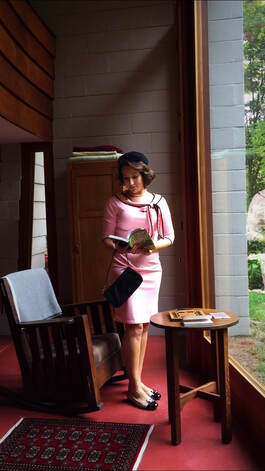
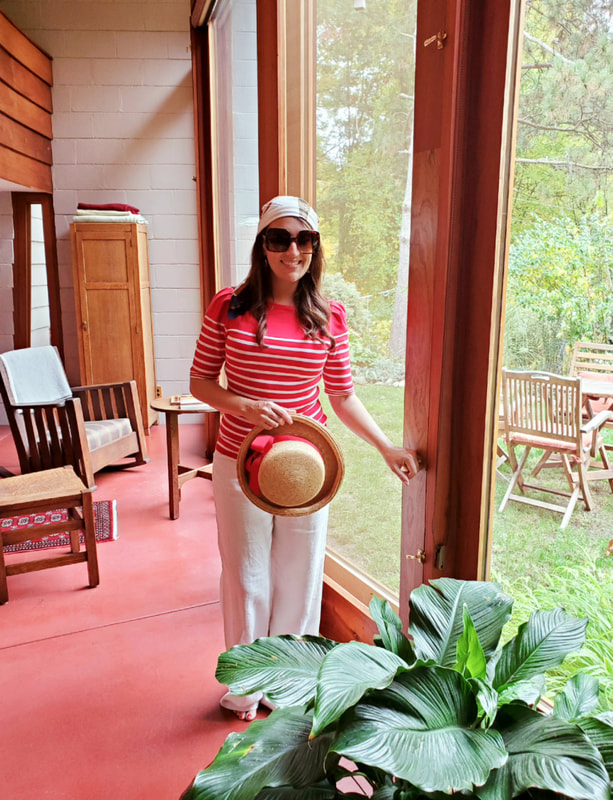
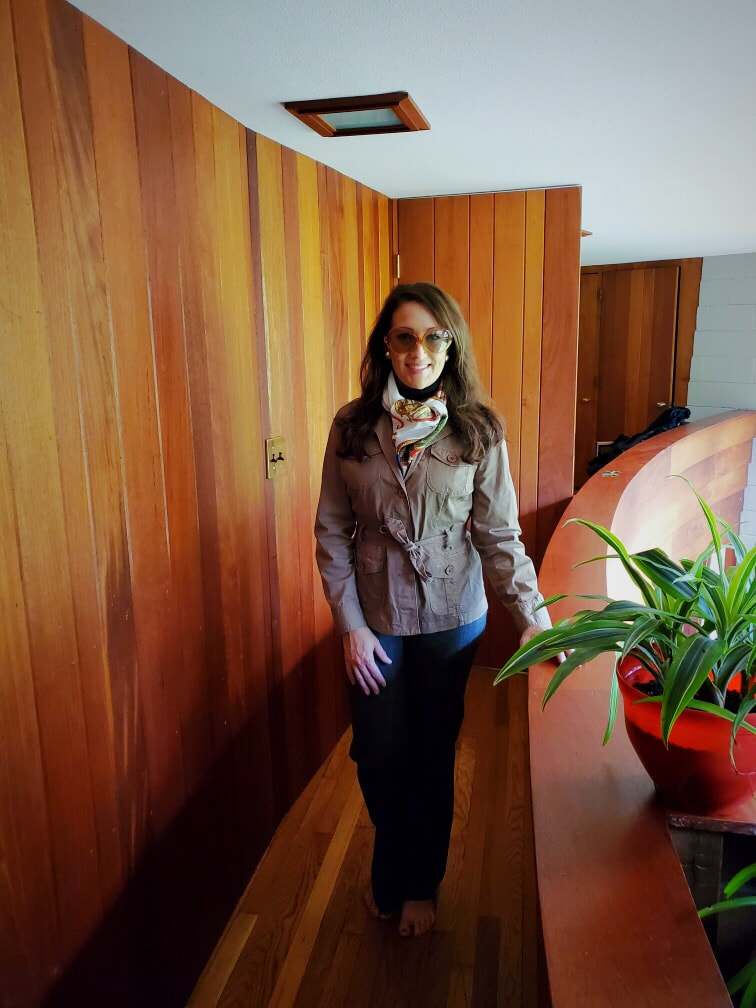
 The Master Bedroom in the Palmer House. The closet houses a surprising amount of clothing and also has a built in dresser with angled drawers. Across from the closet is a built in vanity space (shown in other photos) Outfit: Vintage consignment beaded satin dress $15, Velour Shrug Consignment $20, Shoes Betsey Johnson Thrifted $15 The Master Bedroom in the Palmer House. The closet houses a surprising amount of clothing and also has a built in dresser with angled drawers. Across from the closet is a built in vanity space (shown in other photos) Outfit: Vintage consignment beaded satin dress $15, Velour Shrug Consignment $20, Shoes Betsey Johnson Thrifted $15 A couple of years ago, I had the privilege to stay in a home designed by Frank Lloyd Wright. While there, I participated in a vintage photoshoot which provided great pictoral memories of both the old timey fashions and the incredible home. Apparently, I talked about it often and with such fondness that my husband took note of how much I truly enjoyed my time there. My Christmas and Anniversary gift were to be a stay at another Frank Lloyd Wright home, The Palmer House, in Ann Arbor, Michigan. An advocate of thrifted fashion, I brought my vintage suitcases loaded to the brim with mostly thrifted outfits I've had in my closet for a while. During the height of Covid, many social events were cancelled and the opportunity to dress up has been minimal. I've been watching a lot of B. Jones Style channel on YouTube and I love her motto, "Always play dress up." You don't necessarily need a special occasion, sometimes it is fun to just dress up and enjoy it yourself. It seemed fitting to play dress up in this beautiful home. The Palmer House in Ann Arbor, Michigan, was designed by Frank Lloyd Wright and built in the early 1950s. A bit of Frank Lloyd Wright bonus footage from The Curtis Meyer House....
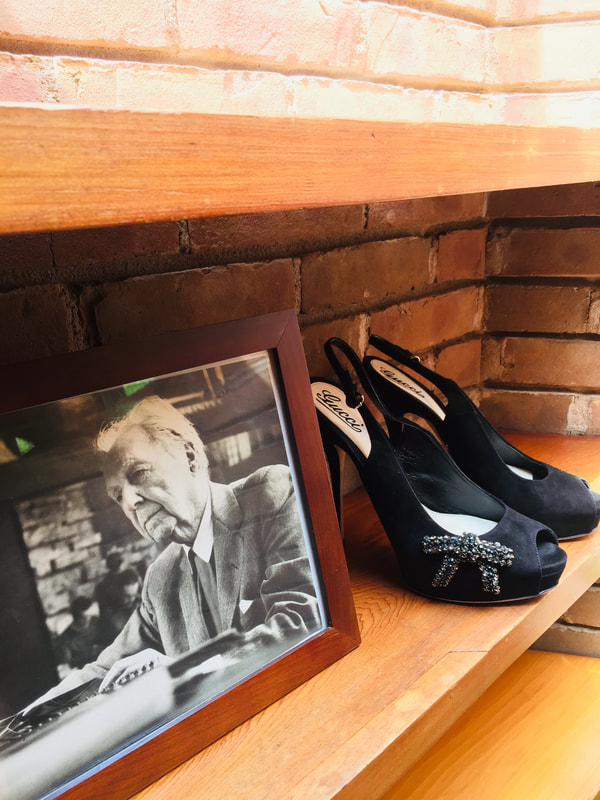
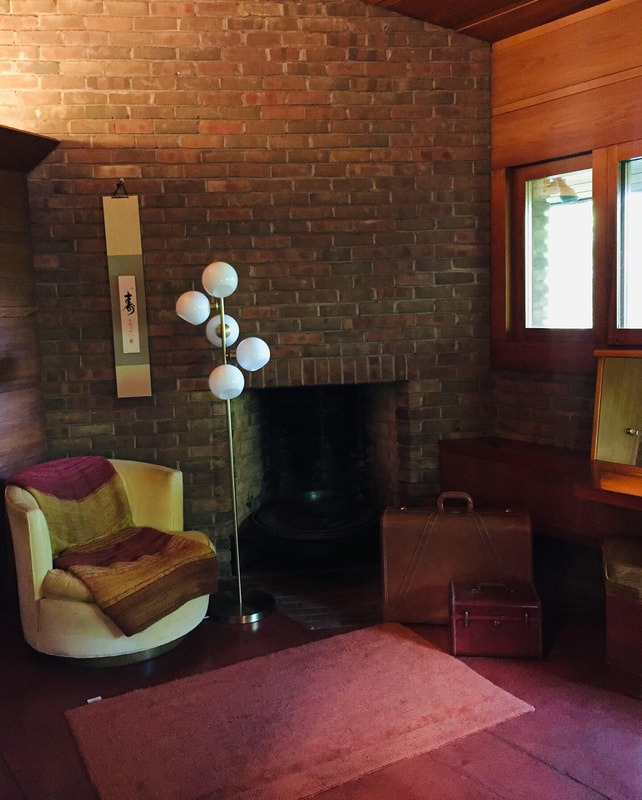
 Hard soled shoes are not allowed in this home to protect the concrete floors. Any shoes shown in the photos were only worn standing on rugs or put on in place for the photo. It is such a gift to be able to stay in a home like this, we wanted to show the utmost respect for the space.
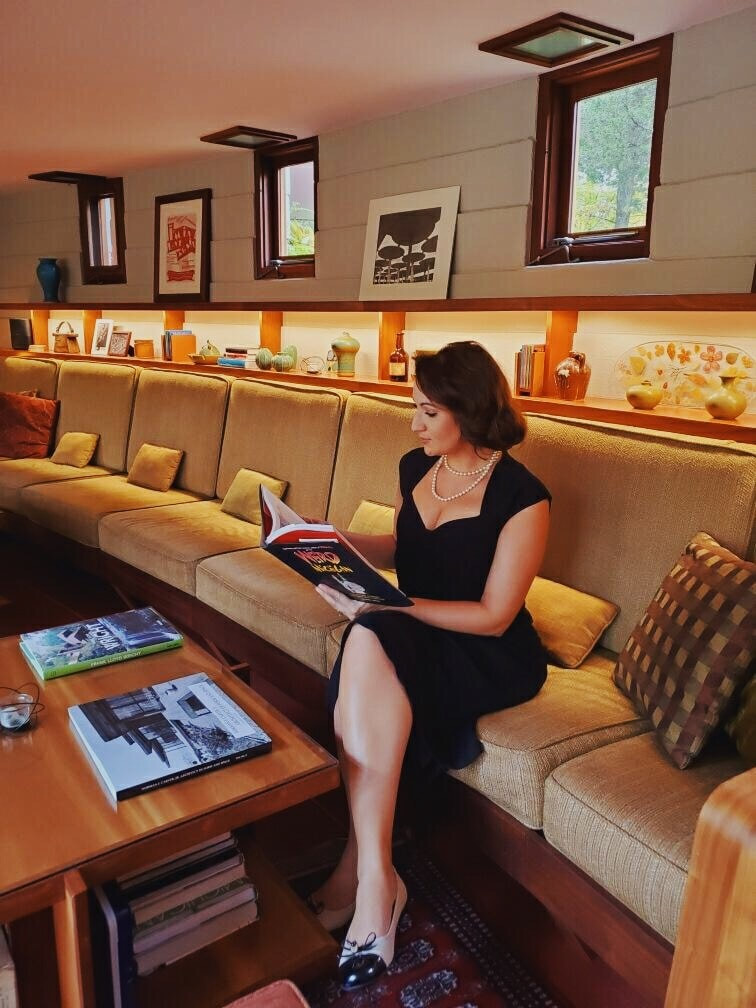
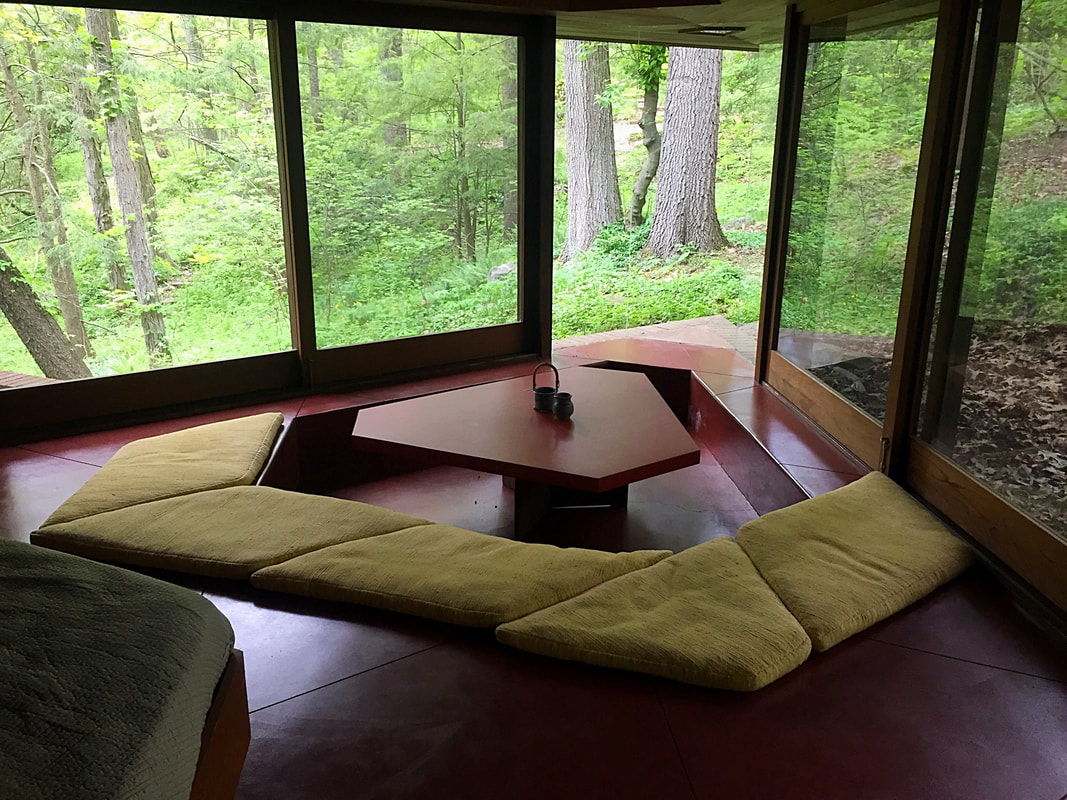
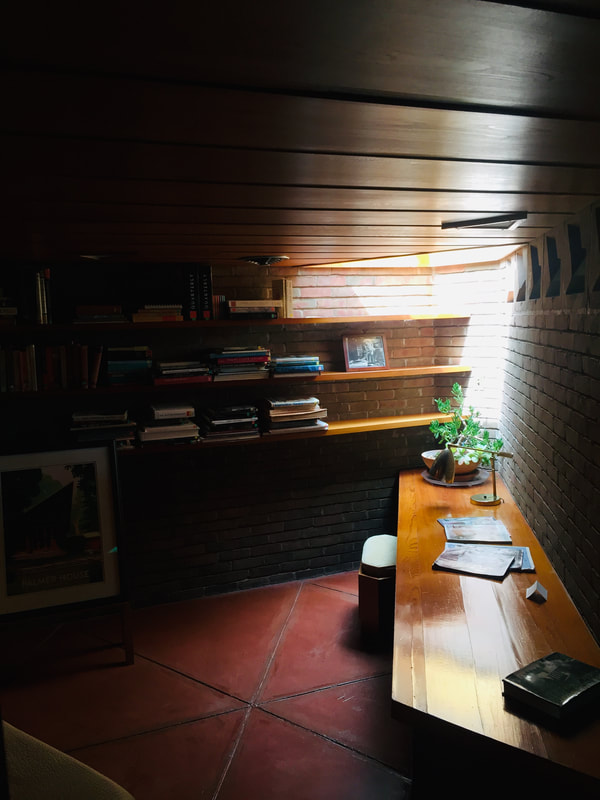
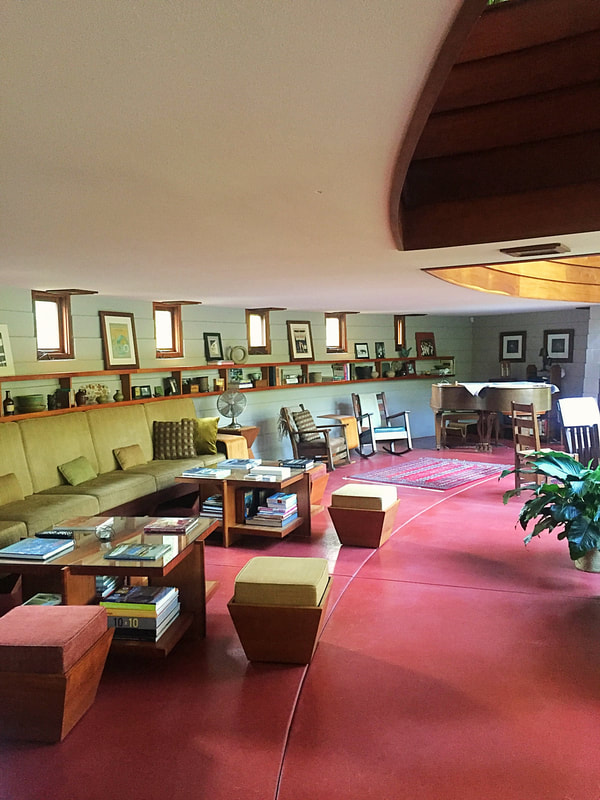
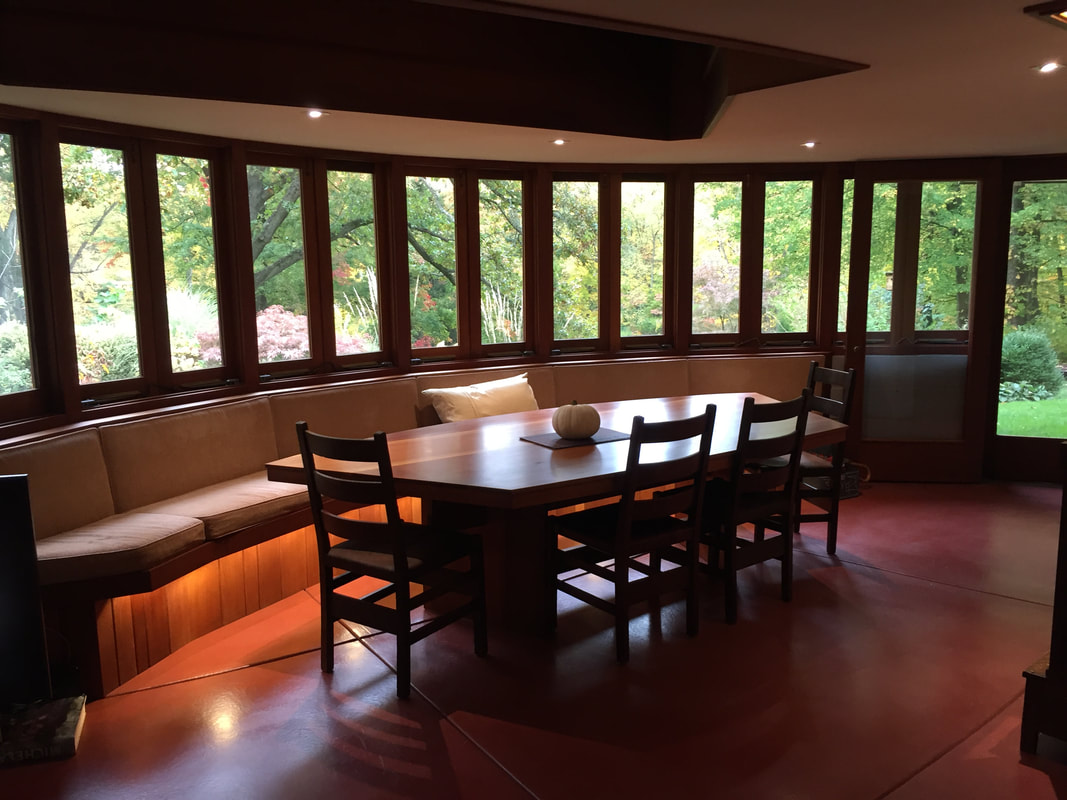
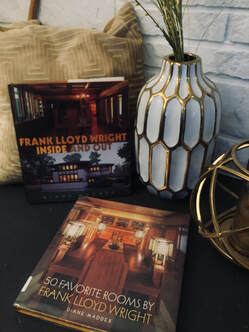
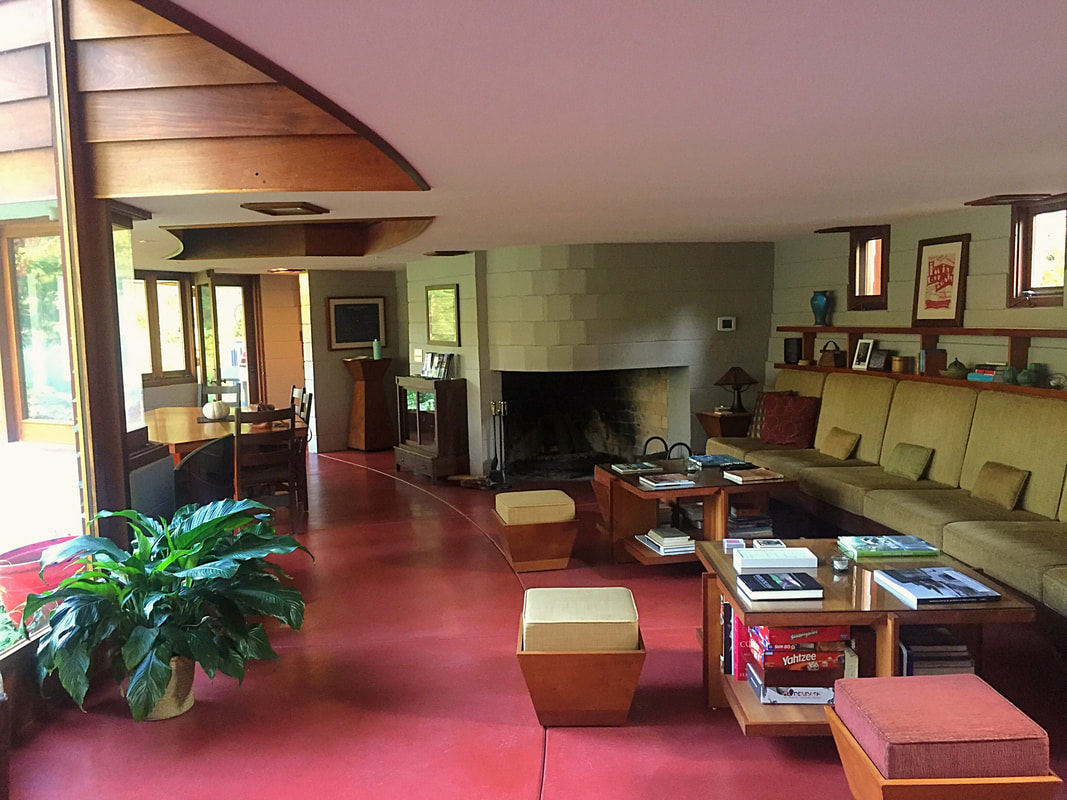 The natural light coming into the main living space is incredible even on the cloudy days. If you like reading about Frank Lloyd Wright I recommend this set of small sized books written by Carla Lind featuring different aspects of Wright's work in each book. These are a lovely set to have out on a coffee table and don't take up very much space. I also enjoy these two larger books by Dianne Maddex which are full of amazing photographs inside various Frank Lloyd Wright buildings and homes.
1 Comment
I like to post videos on Instagram showing the magic of the before and after transformations of a hand engraved piece. Through the quick before and after, a blank metal surface is transformed into something unique in a click, blink or wave of a wand. It's humorous and a fun way to share finished pieces, but my engravings are far from quick magic. There are several steps from start to finish in my hand engraving process, the main of which is coming up with a unique design. The designs I engrave are from my own hand (unless asked by an individual to replicate their personal logo). I draw my designs to fit the object specifically and enjoy making new designs for specific pieces.
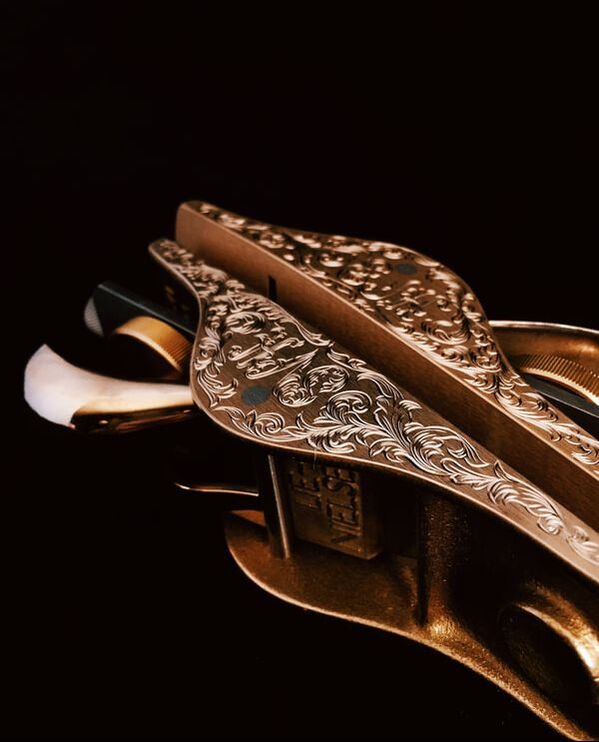
I These small hand planes were a recent commission that were particularly memorable. A father had ordered these planes for his two young girls and asked me to hand engrave a design and their initials onto each plane. Shown in the video above is a tape measure engraving from start to finish. I've engraved more tape measures than I can count! What I love about them are the variations in shape and size. An ordinary, but useful tool, now has a special and unique design embedded into it, made one little cut at a time.
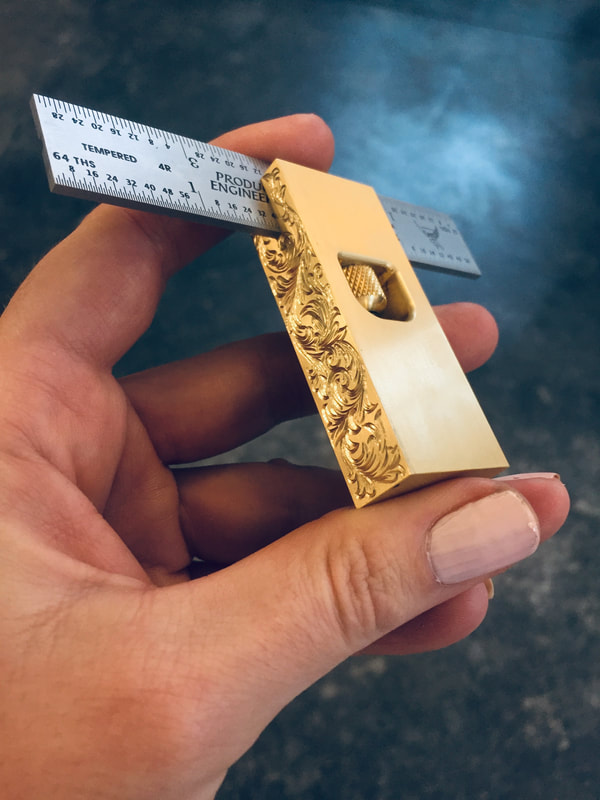
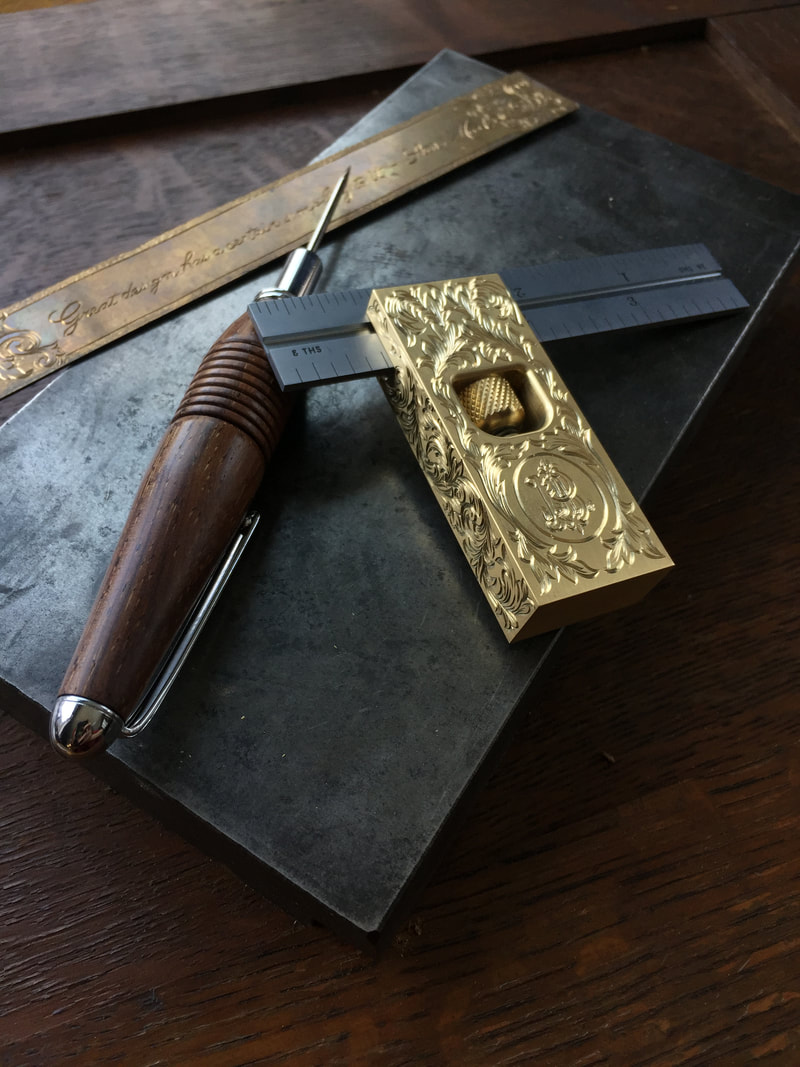
Have you ever taken time to stare at the tool called a square? It rarely gets the chance to shine, but is the key to a perfect line. Without curves it might seem plain, but I ask you to look again. In between its linear form, is now a design that isn't the norm. Hand engraved, a design with flare, go ahead, take a stare. 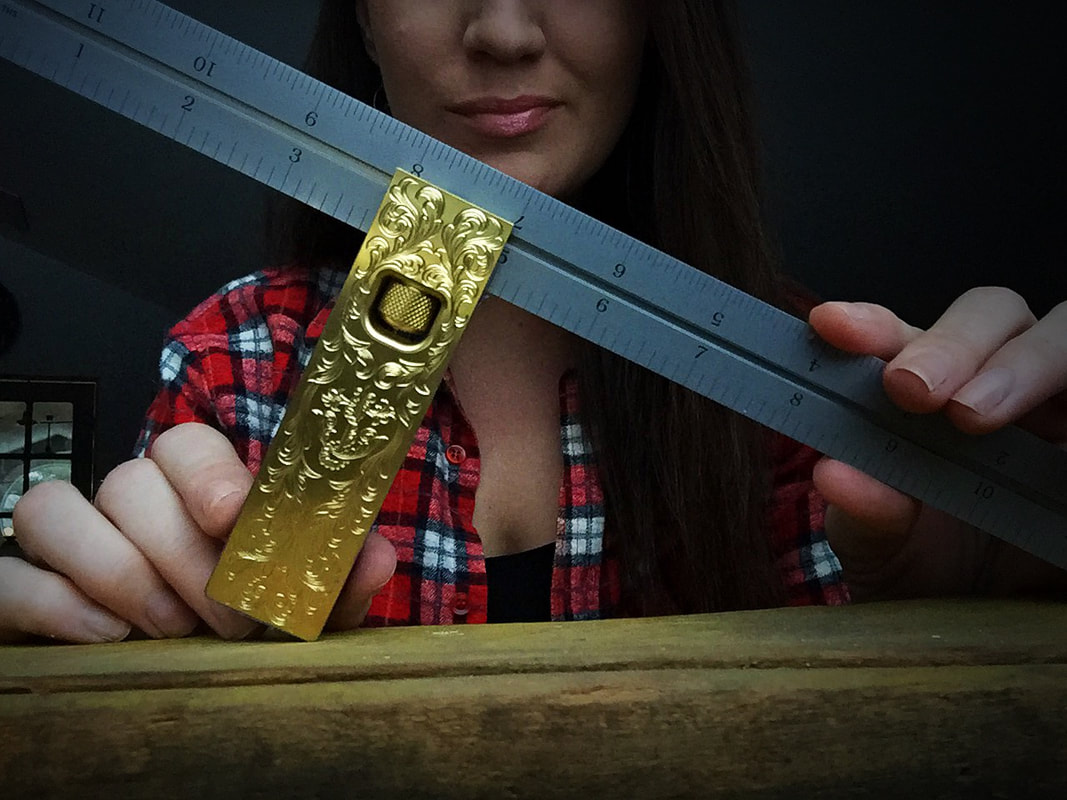 I posted that little poem in the caption of this photo on my Instagram page. A square is an extremely useful tool to craftsmen but is rarely something that is very fancy. A few years back, I had the opportunity to engrave a hand plane made by Tony Rouleau of Hillview Wood & Metal. It was the first I was introduced to Tony's work and I was very impressed. Aside from the hand planes, Tony also makes other tools including these precision squares.
A customer of Tony's asked if I would engrave a large square for him, giving me free reign in design, other than it needed to include an anchor. Included in the shipment of the large square, was a tiny square which Tony gifted to me to hand engrave as I saw fit for my own tool collection. 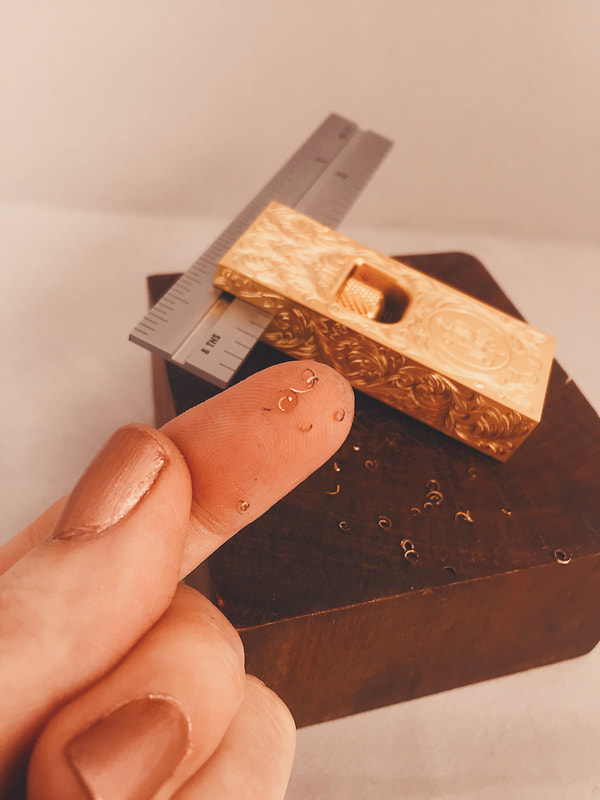 The beautifully bright, tiny cuttings of metal that I removed from my square. Each line is permanently carved into the metal. I like to leave the cuts bright so they shimmer and shine in the light with the tool's movements. As I was hand engraving this small square, the swirls of beautiful brass were falling down around me. Looking at them, I pondered the art which I impart to a piece. I wrote about it in the caption of this photo on my Instagram page, "It seems like a bit of an oxymoron that the addition of my art is through subtraction. In the carving out and removing of metal, I add my design to a piece. One tiny line at a time, a picture appears, now permanently carved into an object's surface. What was taken away, now leaves behind something new." 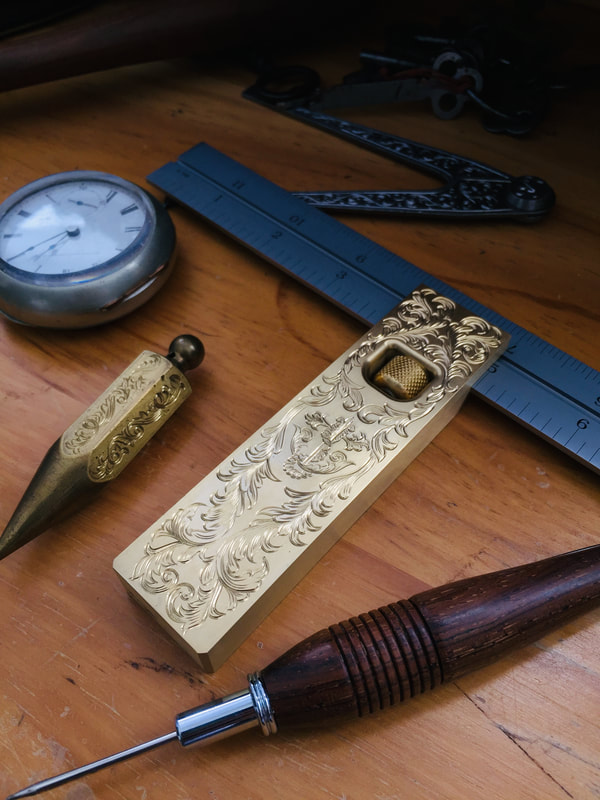 Engraving is more than scratching a surface, its carving out a design that will change the look of something forever. I hope the owner of this tool will treasure his square as much as I treasure mine.
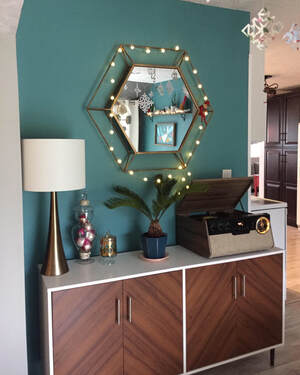
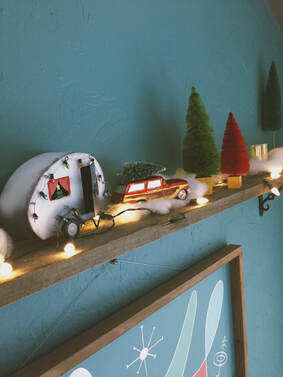
When the television show, Fixer Upper, started several years ago, we all became instantly enamored with Joanna Gaines. And, why wouldn't we be enamored with her? She's a lovely person who reminded us that chipped up corbels make great book ends, that giant farm tables are romantic and she brought the words "ship lap" into homes across America. As someone who already likes old, rustic, rough around the edges type items, I was hooked. I wanted the farm table, the white ship lap walls, the ginormous chandeliers...then I remembered, I live in a ranch style home built in the 1960s. 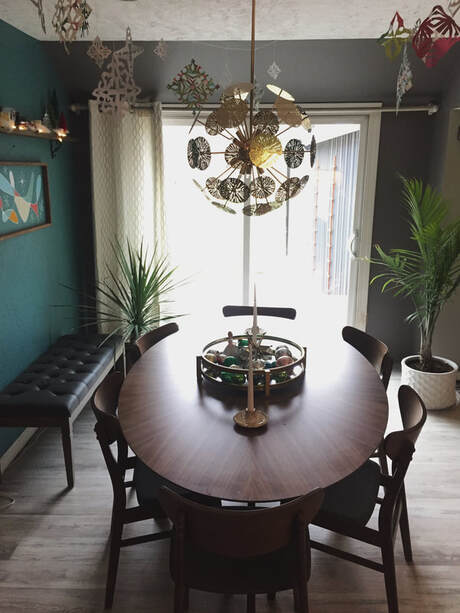 There's nothing wrong with being inspired by the top trendy designers, but its ok to realize that maybe your style and your home can incorporate something else other than the current craze. Joanna knows her style. She made that style into a trend that so many of us want to have a piece of. I tried it, I did. But, it just didn't work in my house. I had to think about what would work and would bring me joy in the objects and design I live with everyday. Somehow I ended up in the mid century look of my Grandma's house that I loved to visit so much. 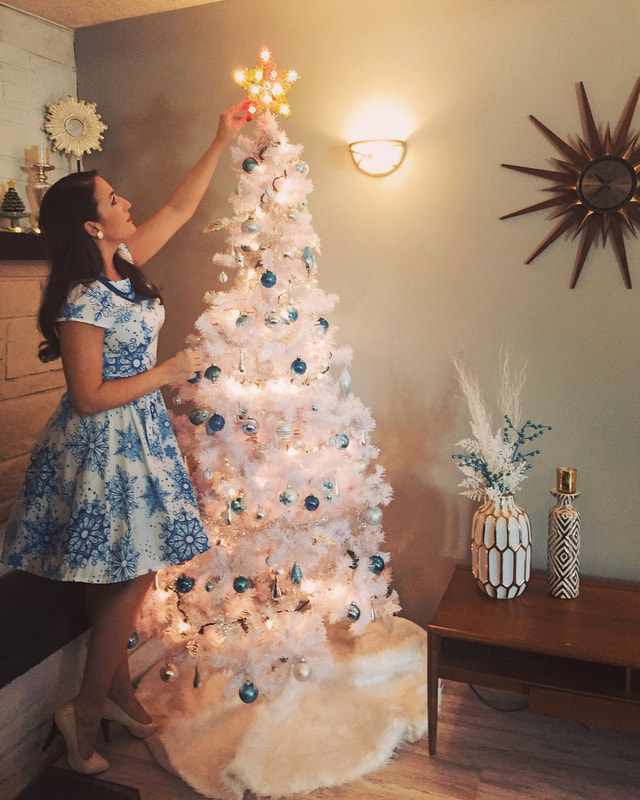 During quarantine this spring, I decided to embrace a change inside. I painted a couple of walls turquoise, I ordered a crazy wild chandelier, I insisted to my family that the record player become part of our daily routine and I found a dining table that reminded me of the one my Grandma had. Thankfully, my family embraced the changes and they were even ok with decorating for Christmas completely different than we've ever done before...we went retro. 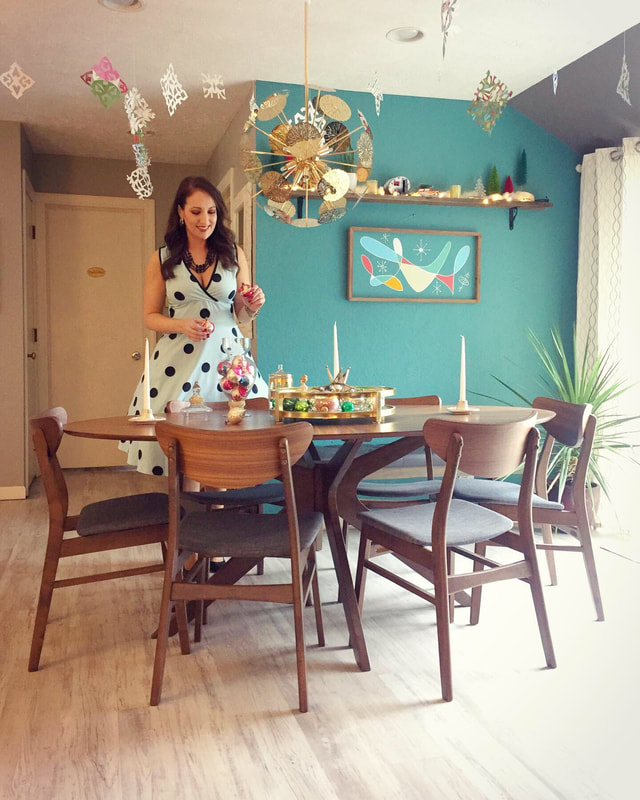 My Mom had a set of antique Christmas bulbs that she treasured. Since her passing, I have come to treasure this set as well. I've been too afraid to put them on any Christmas tree, in fear that they would fall and break, so they have been boxed up for several years. This year, I placed them in a glass candy jar so we could enjoy them and they would be protected.
If you've known me at any point in my entire life, you'll know that I am a lady who loves plaid. The first question I received when I revealed parts of our retro Christmas was, "What? No plaid!?" There's no way on earth that I could remove plaid from my life, especially at Christmas. I found ways to incorporate it in other rooms of the house, still with a bit of vintage flair.
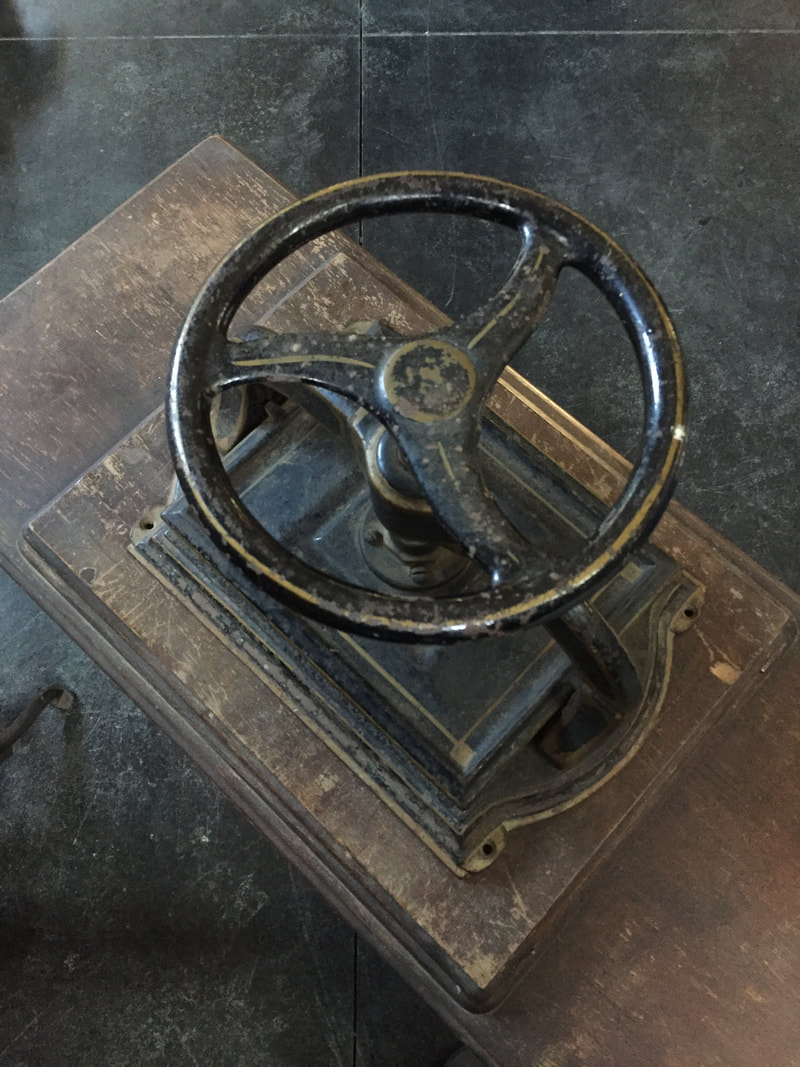
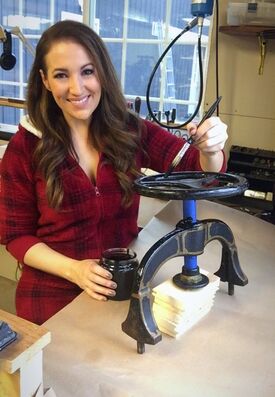
Do you like to barter for things? I sure do (sometimes even in my own household). Last year I hand engraved a set of trammel points that my husband reeeeaaaaalllly wanted. Generally, I'd just hand them over, but instead, I found myself saying, "Find me a book press and you've got a deal." Shortly thereafter, this lovely old book press came into my possession and I decided to give it a little bit of a facelift.
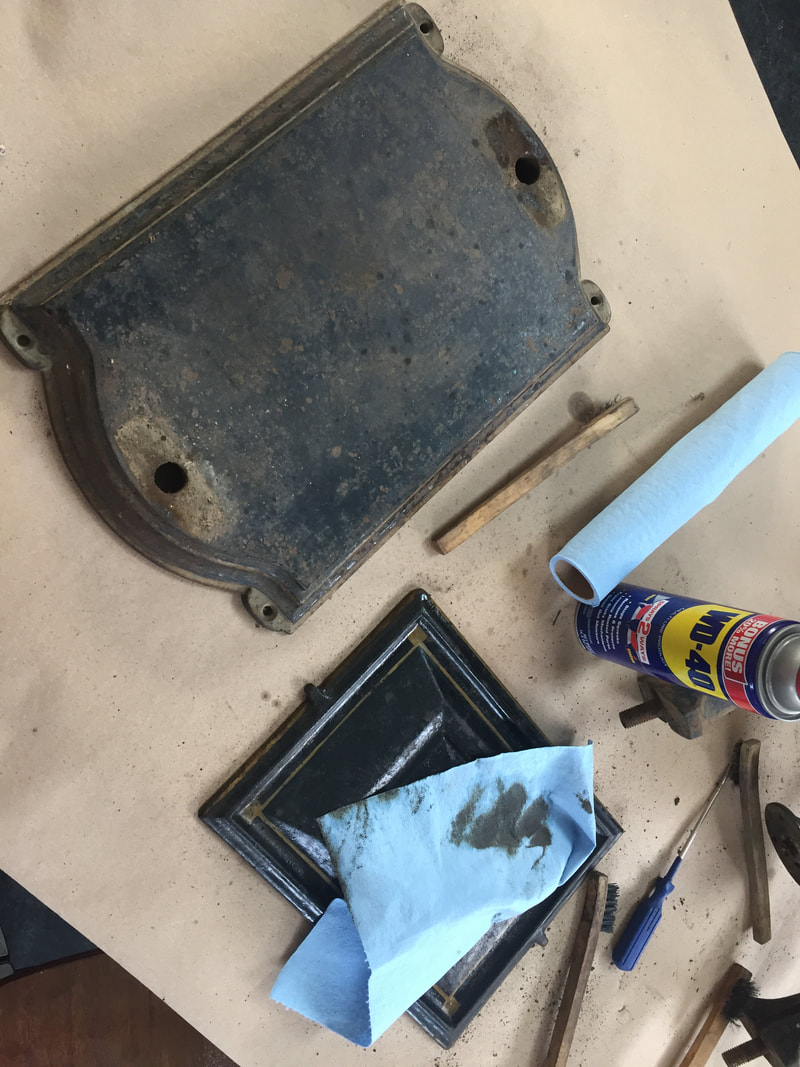
The black, chipped paint showed years of use and the gold toned pinstriping was wearing off. Instead of sand blasting the pieces, or removing all of the old paint, I wanted to keep its aged look by adding a coat of black right over top of the chips and scrapes. Following disassembly of the unit, I scraped away any old paint chips that were significantly loose, cleaned it as well as I could and applied a fresh coat of black paint. There's nothing wrong with a full restoration that takes a piece to bare metal, but I wanted this piece to retain its aged look and unique character. There's a warmth to things that look used, their marks tell a story. I wanted to keep some of that in this piece.
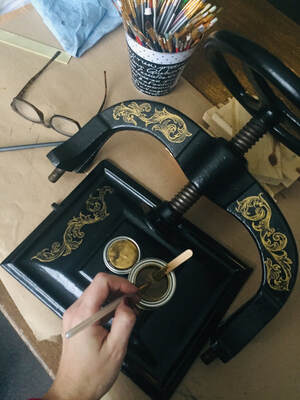
After contemplating whether I should recreate the gold outlines that were on the press when I received it, I decided instead to have it be reflective of my own style. Using a high grade sign paint, I hand painted flourishes on the main components of the press, including the wheel. 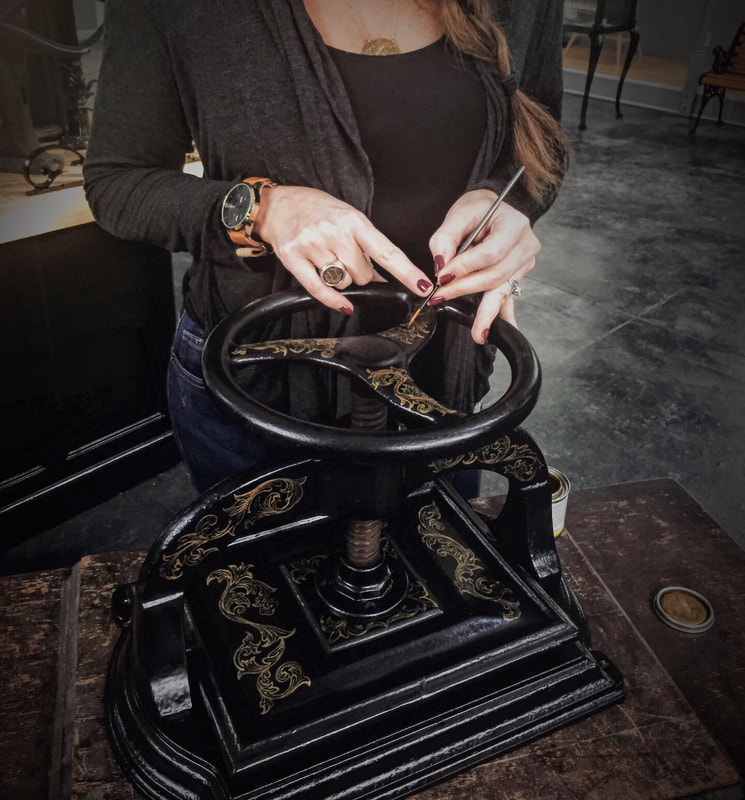 In my field of hand engraving, a steady hand is of utmost importance. A slip of the hand can create an unwanted gouge that can sometimes be fixed and sometimes cannot. Calm and steady hands are necessary to execute a clean engraving. They are also a must in the art of pinstriping. 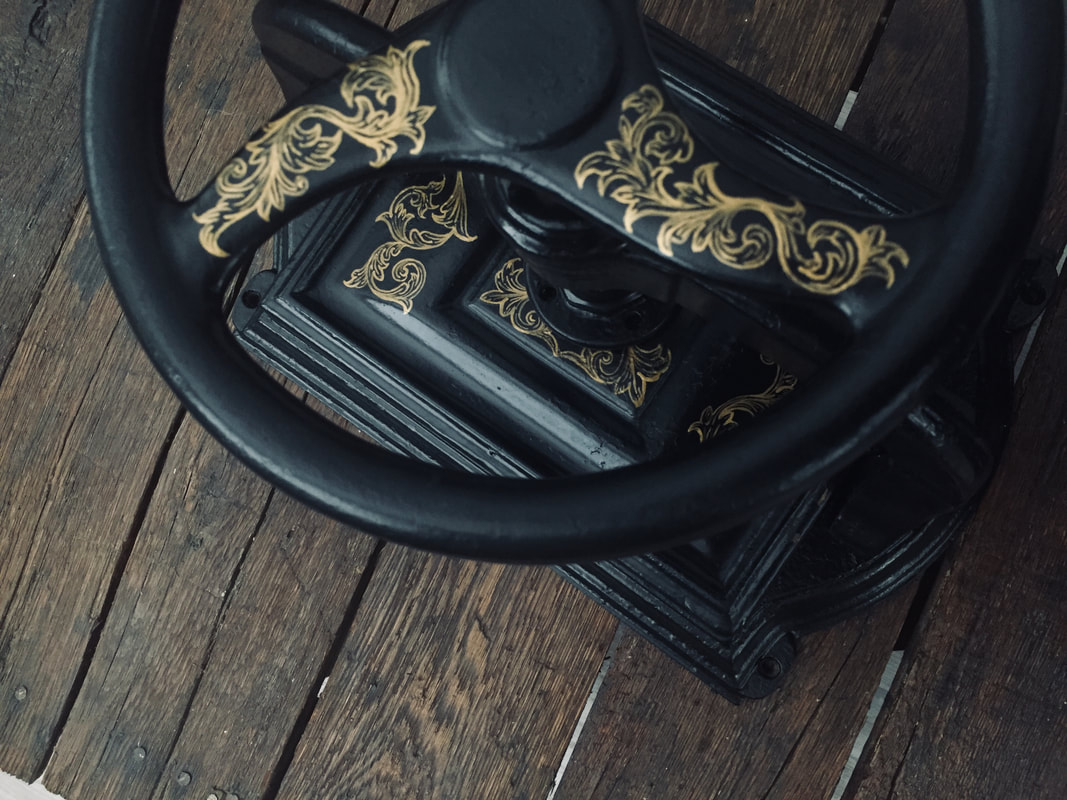 A solidly built tool now has a look that is unique and fresh. Instead of sitting unused on display on an antique store shelf, it is now a focal point in my shop being used for my block printing and hopefully one day a bit of book making.
Incorporating pieces of hand engraved jewelry into my costume builds is one of my favorite elements in creating a character's look and this year was no exception. My idea was to create my own version of the character, Poison Ivy, with a bit of a retro vibe.  Using scrap copper, I freehand engraved leaf designs and cut them out with a jeweler's saw. I happened to find a used necklace at a consignment store which, once rearranged a bit, seemed to be a good fit with the copper pieces I crafted. To coordinate with them, I also made a pair of engraved copper earrings. When constructing a costume, I like to use a combination of handmade, used, upcycled and scrap pieces to keep the costs of a project down and stretch my creativity. It is the same way I made costumes while I was growing up and it gives me that childlike creative feeling all over again.
Initially, I was going to fabricate the leaves of my headpiece by hand but I came across this piece of vintage wall art and thought it would be the perfect way to upcycle the material. Forming a brass headband from scrap, I then soldered the leaves to it. Once everything was soldered in place, I used an accelerant to give the leaves a bit of patina. Due to the circumstances of Covid this year, many Halloween events have been cancelled. My daughter and I decided we'd dress up anyway, carve a pumpkin, make some treats and enjoy a Halloween movie together. Making our own fun is something we are pretty good at and I had a blast making this costume.
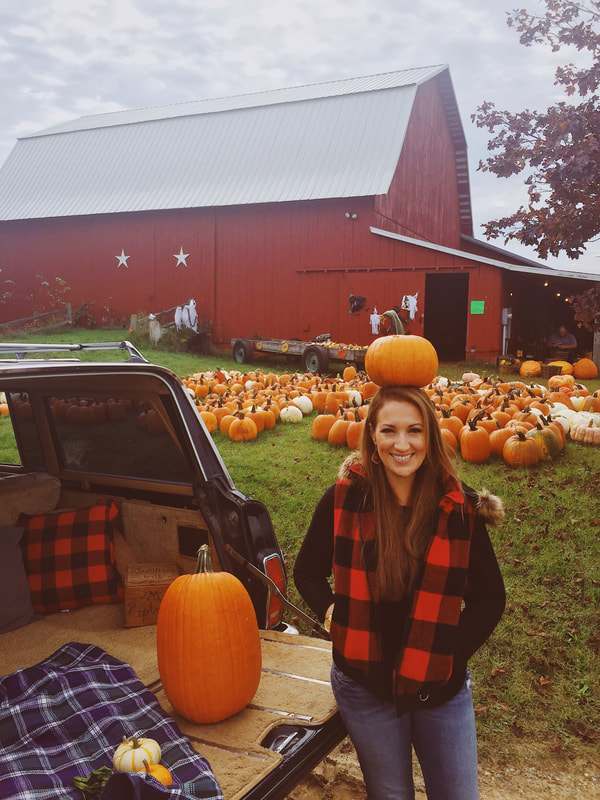
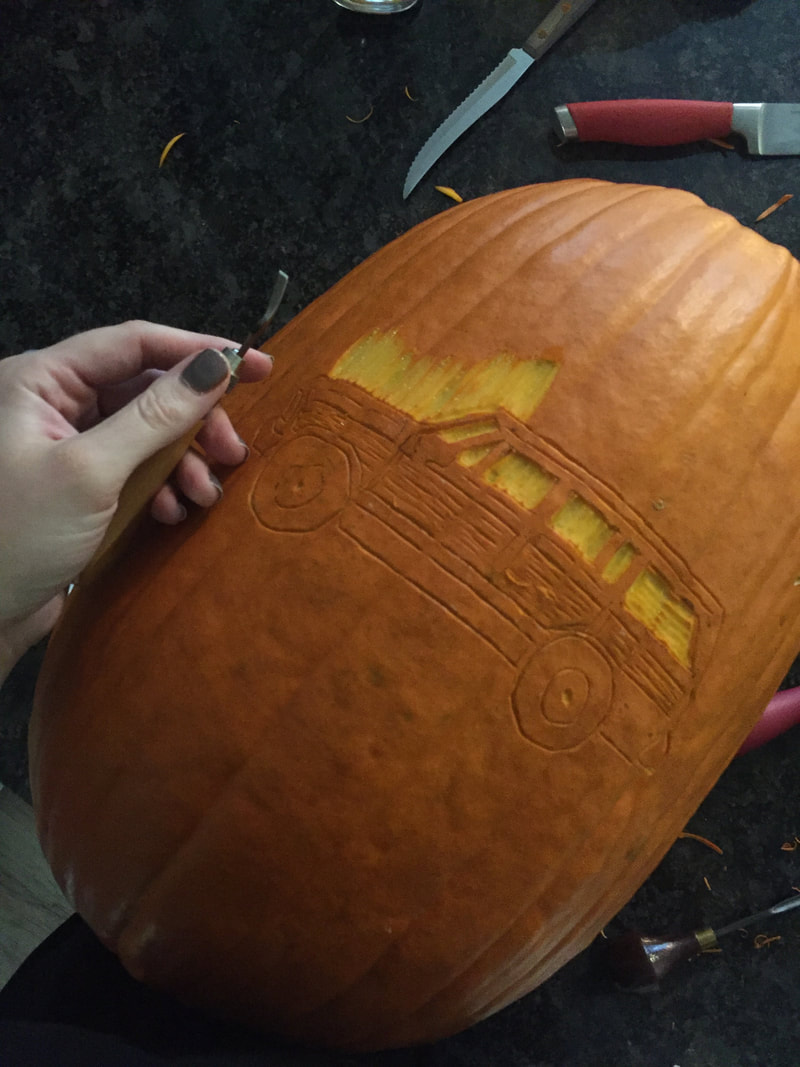
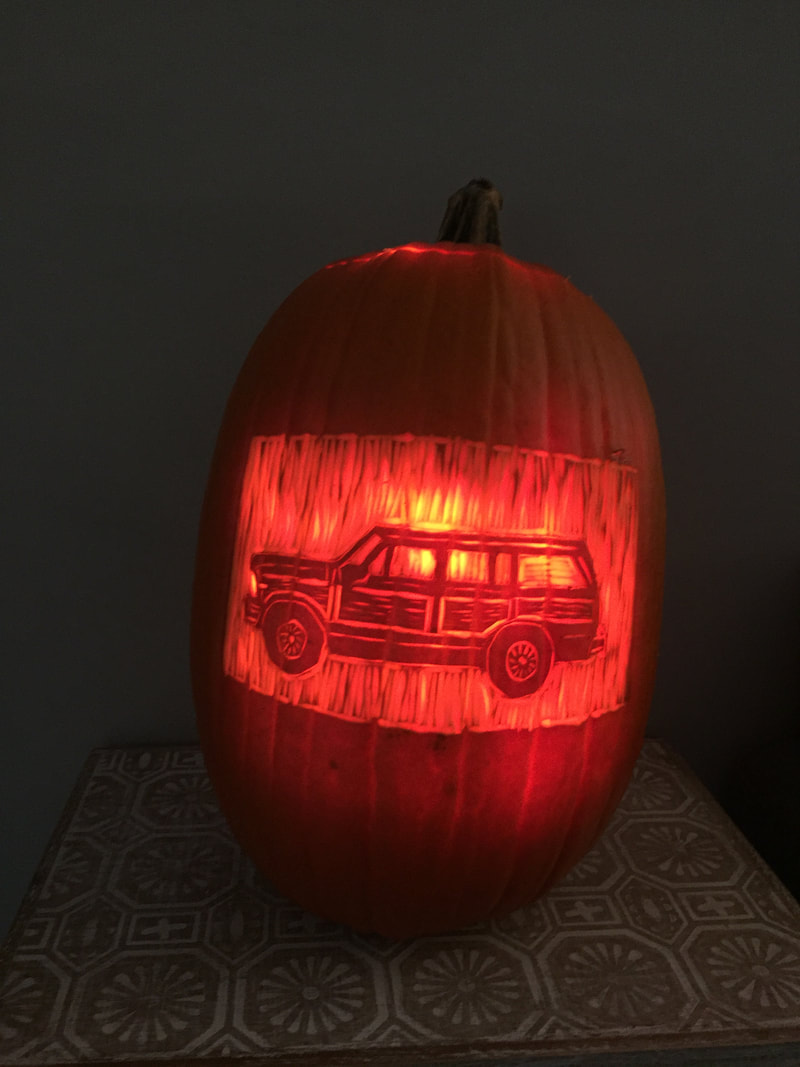
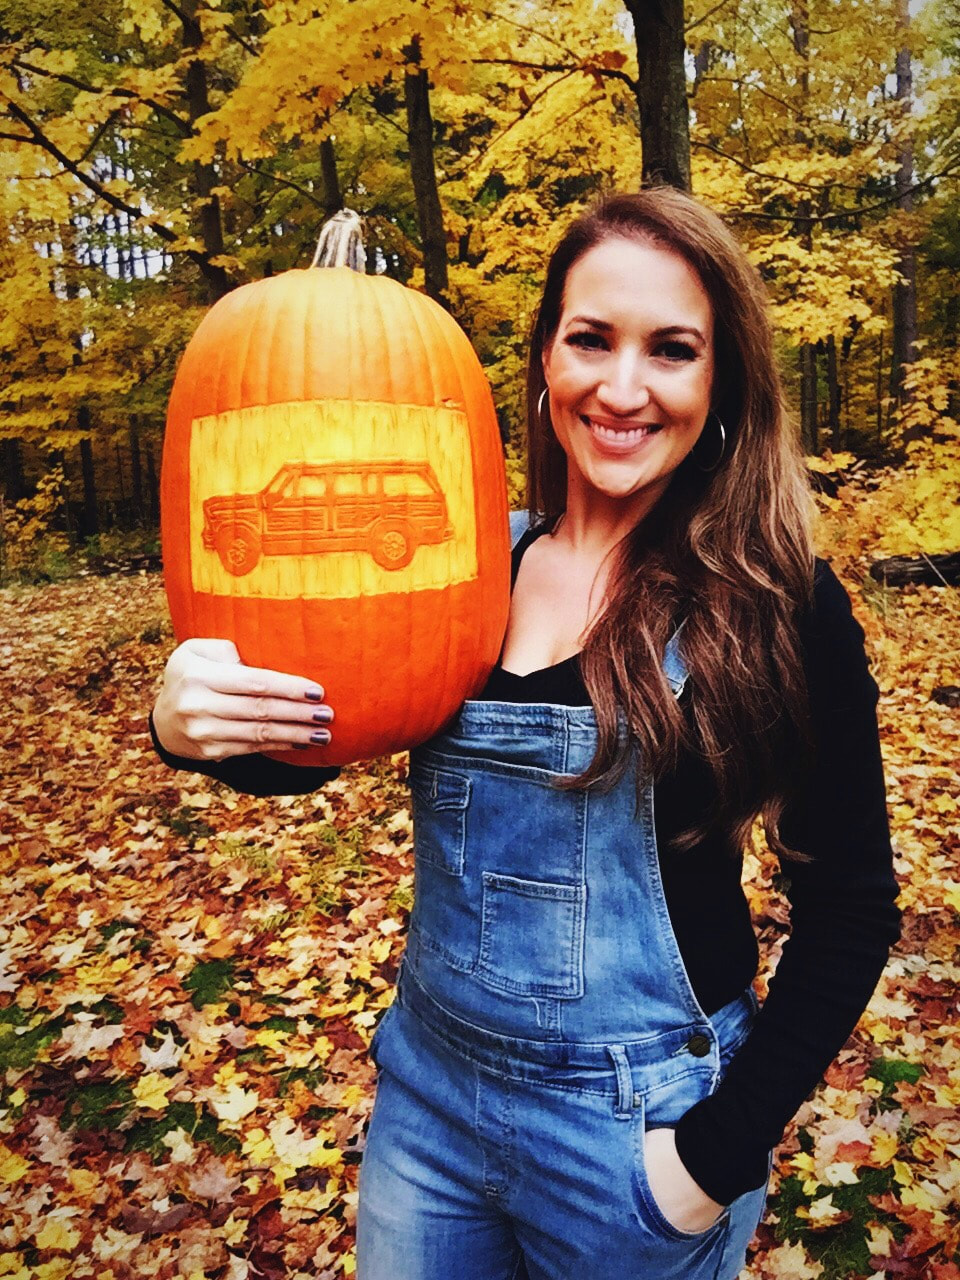
Driving through the colorful scenic woods and lakeshores in Northern Michigan is one of my favorite ways to experience the changing of seasons. It seemed fitting to use that as inspiration for my fall pumpkin carving and carve my Wagoneer into a delightful autumn lantern. I sketched an outline onto the pumpkin and scored it with a knife. Once the outline was in place, I used my wood carving and linocut tools to slowly peel away layers of pumpkin (just deep enough to let light shine through).
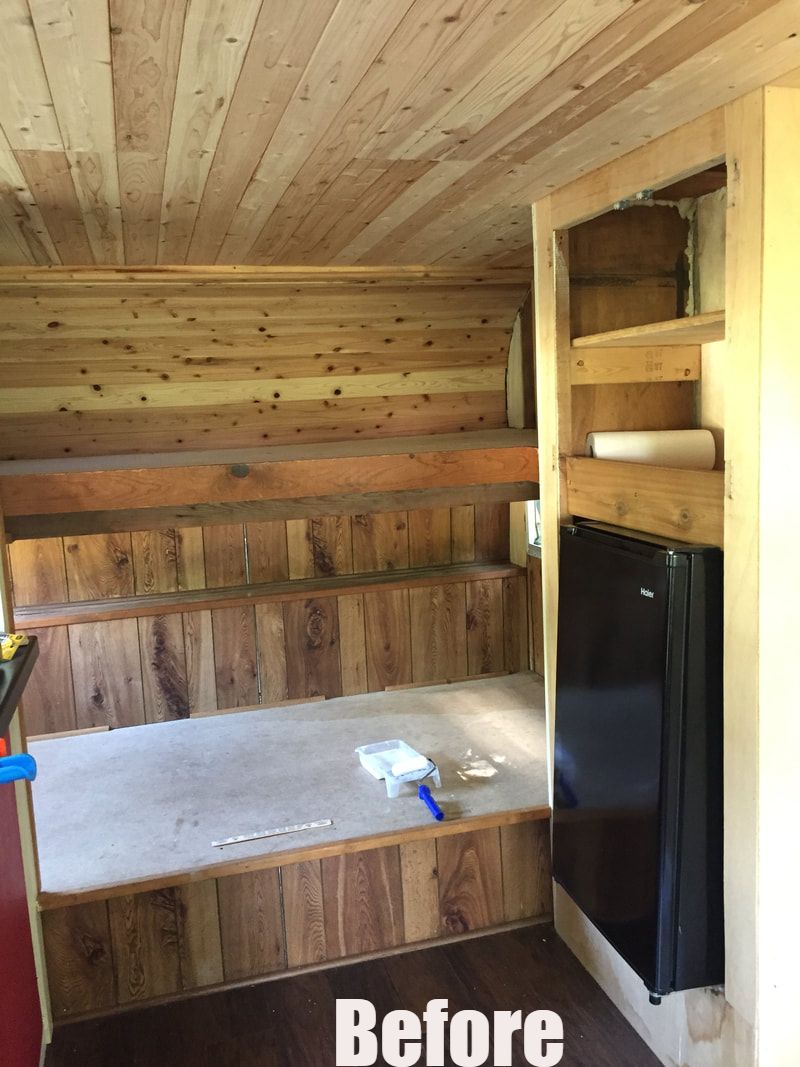
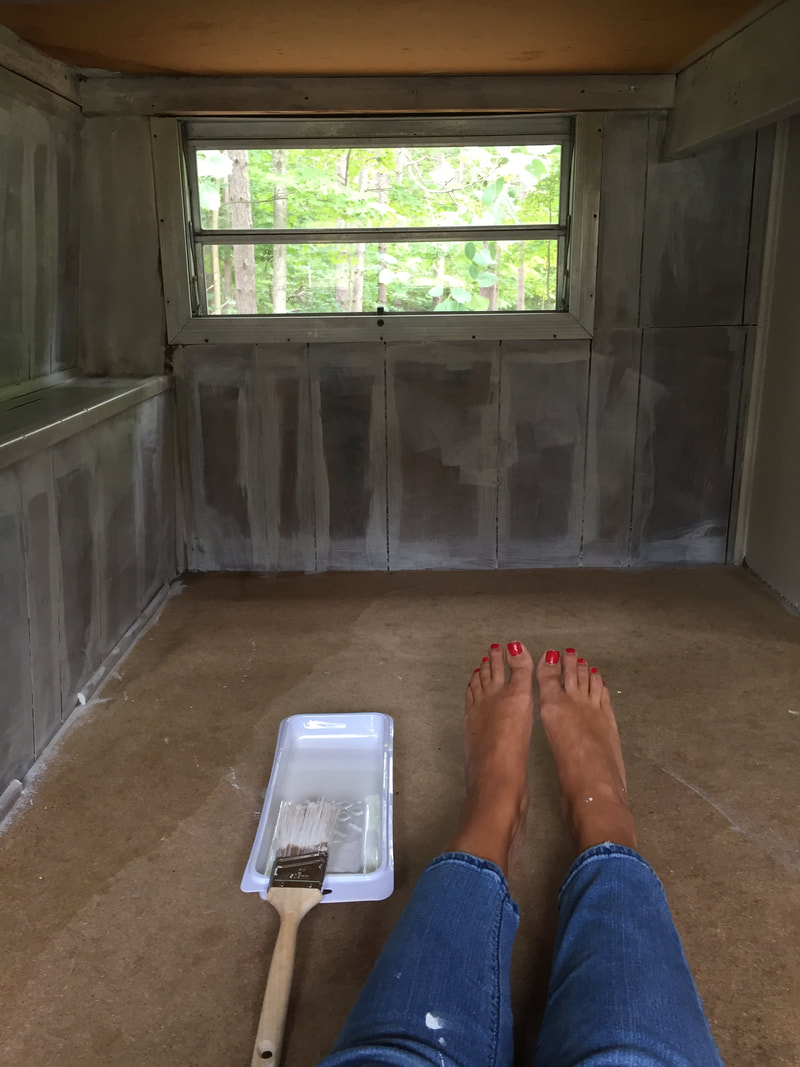
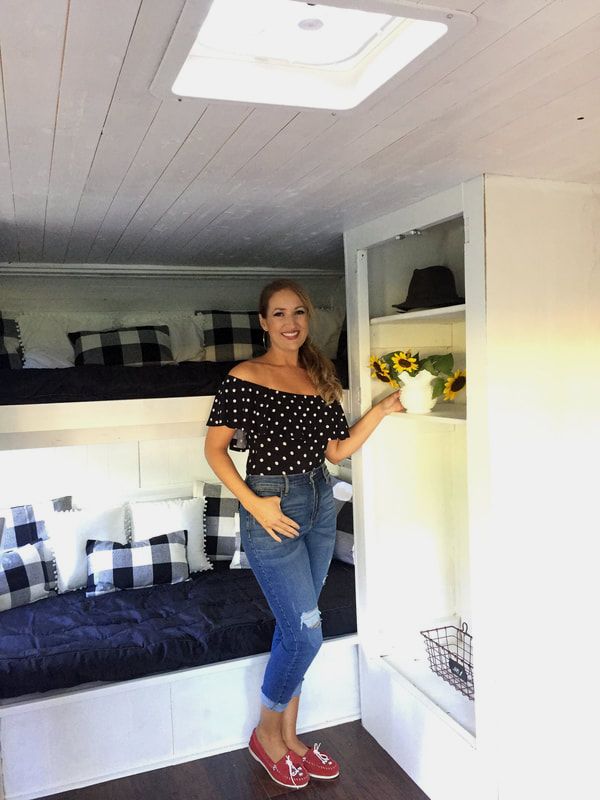
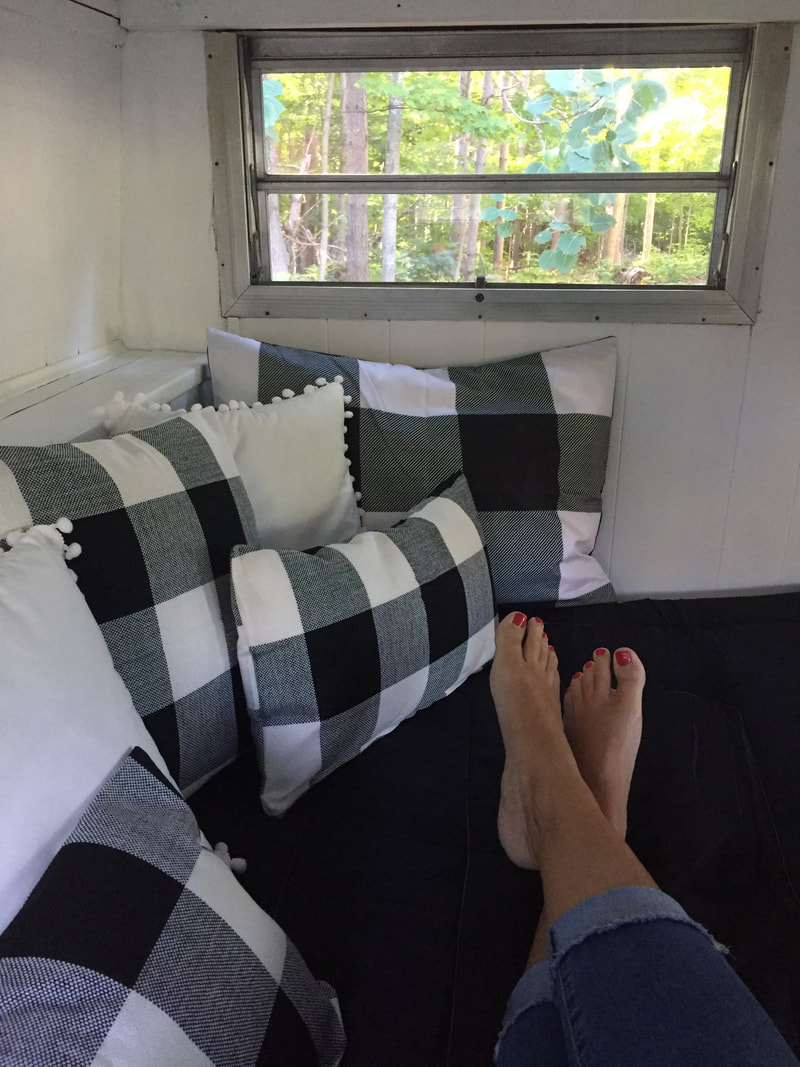
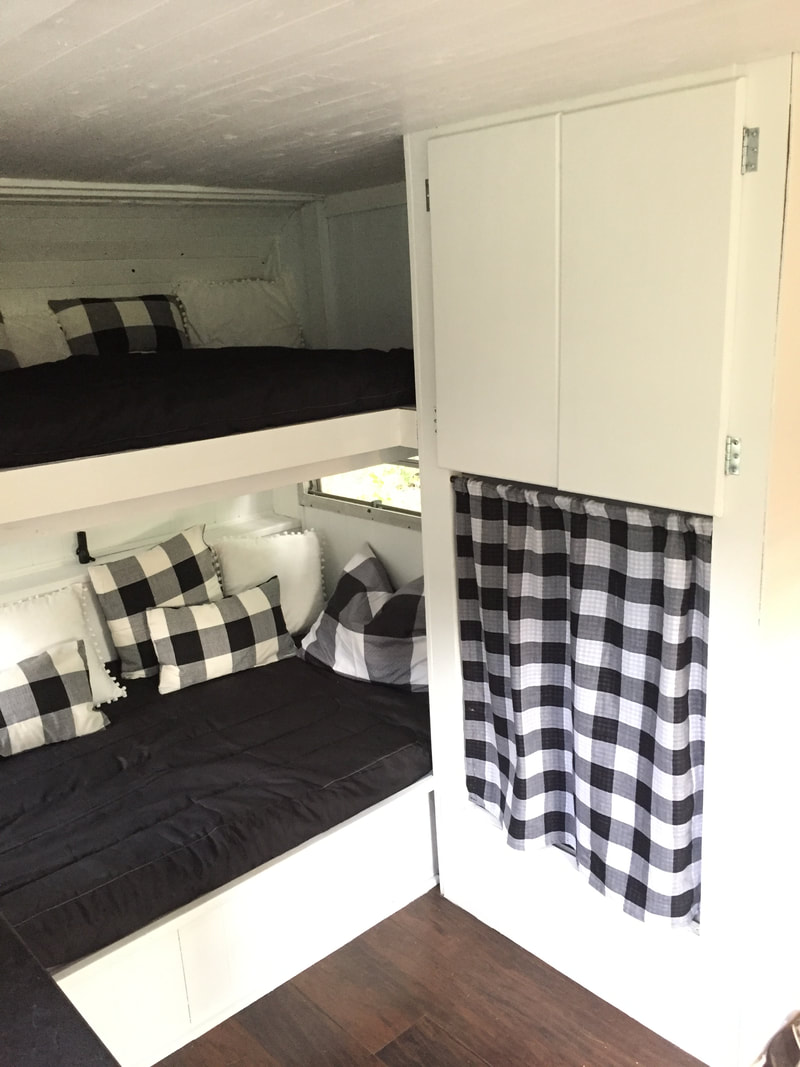
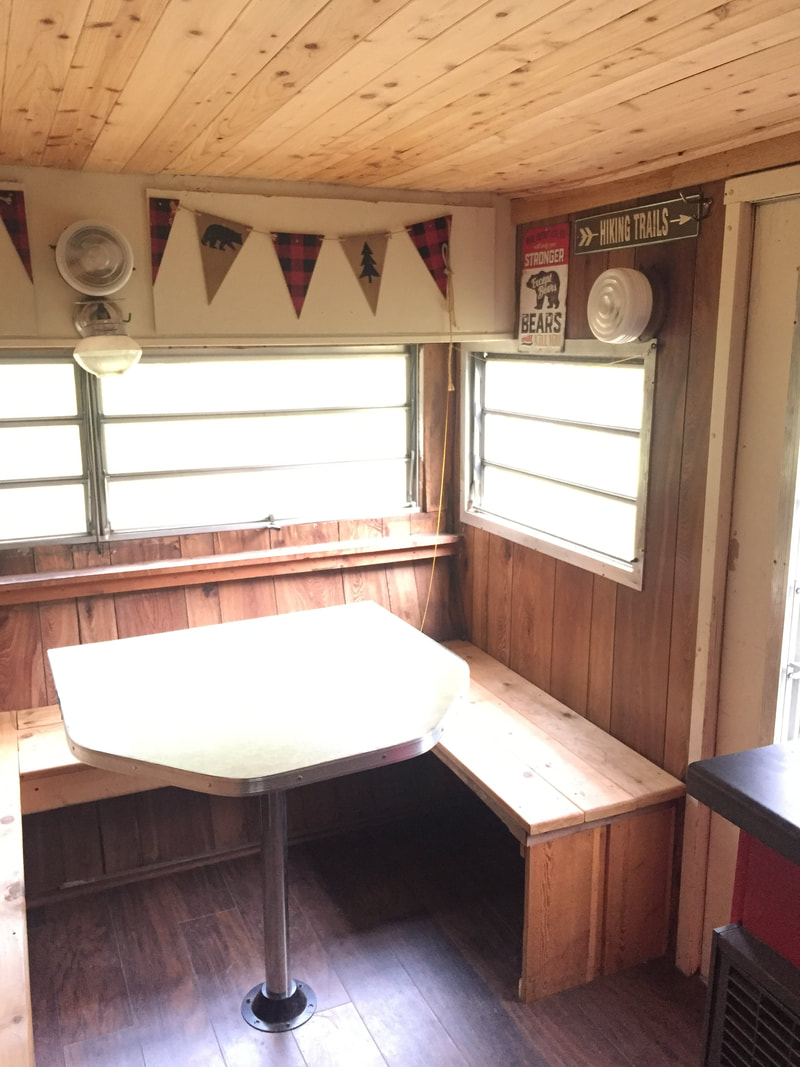
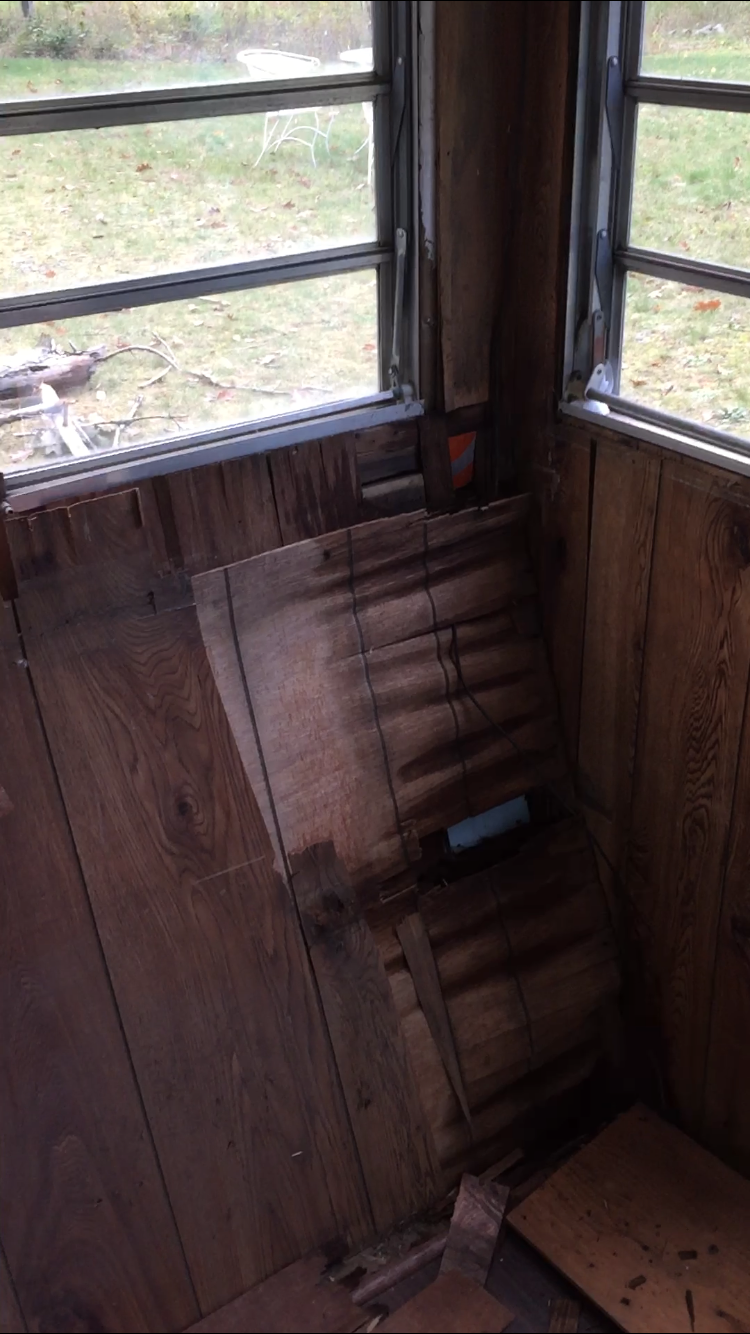
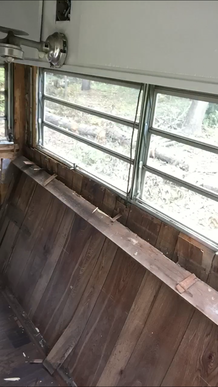
Pumpkin carving turns into a bit of a competitive sport in our family. Each year we gather with relatives to carve our pumpkins, eat comfort foods and roast the pumpkin seeds we've removed. What started as traditional jack o'lantern carving has now morphed into all kinds of unique creations. Undoubtedly, no one was really all that surprised with my pumpkin carving choice. 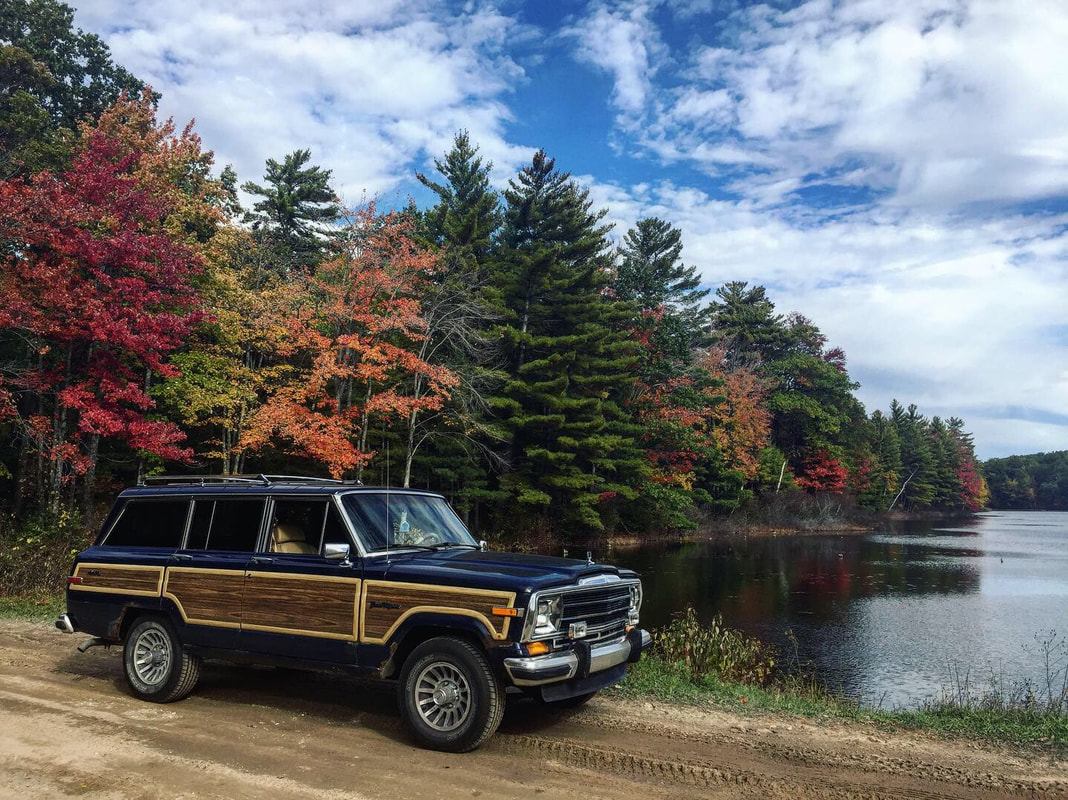 Is it just me, or do you binge watch baking shows and suddenly decide you need to see if you can whip up some kind of sugary masterpiece in your kitchen? With Halloween just around the corner, I decided to dig out my Christmas cast iron gingerbread mold and see if I could modify it to create a spooky (but kind of classy) Halloween gingerbread house. 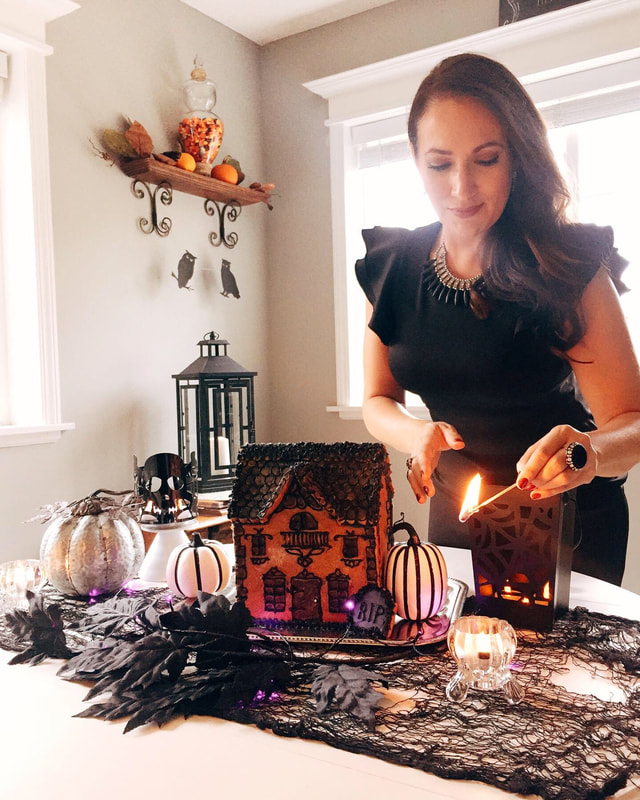 I bought the cast iron form at a garage sale several years ago. One side has the template for the front of the house and roof section. The other side of the template has the forms for the home's sides and awnings. Due to this fact, baking gingerbread becomes a labor of love. Once the gingerbread is mixed, rested in the fridge, rolled out, cut to fit and pressed into the form, it takes 25 minutes to bake each section and ten minutes of cooling before the pieces can be removed and subsequent pieces baked. Ever since I purchased my 1987 Jeep Wagoneer, I've been daydreaming about having a little vintage camper to pull behind it. With the increasing popularity in vintage campers, it's tricky to find one that isn't either so updated that it is out of budget, or so neglected that it is beyond repair. I came across one not too far from home and jumped at the chance to take a look. 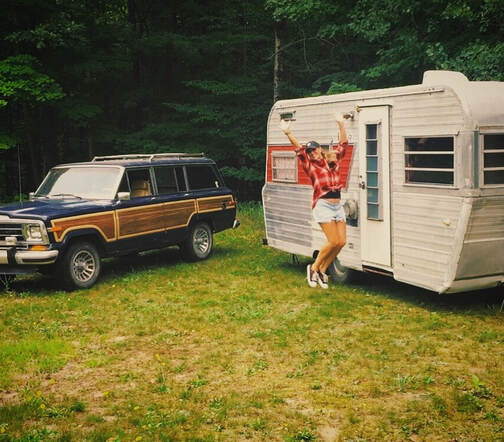 The camper is a 1966 Citation which was somewhat updated several years ago. Some leakage along the roof had been repaired and the inside ceiling and bunk area were all freshly enclosed with new lumber. Though the dining area looked cute, the pine benches someone had added weren't exactly structurally sound. When I removed the benches, I found that the last of the original paneling in that area was dried out and could be peeled away like paper. Due to all of the variations in the types of wood and paneling, I decided to paint everything white to brighten the space and make it look more uniform. As you can see in this video clip, most of the interior is not original to the camper. It isn't my goal to restore it to its original look, but I would like to keep a few of the elements of the era. I'm looking forward to making are new benches for the dining area and resurfacing the kitchen counter and dining table with a matching funky laminate and metal trim edge.
With the bunk section finished, I've turned my attention to the dining area. My plan is to resurface the table with a more coordinating laminate, replace the deteriorated panel with fresh paneling (which will be painted white) and build custom benches for either side of the table.
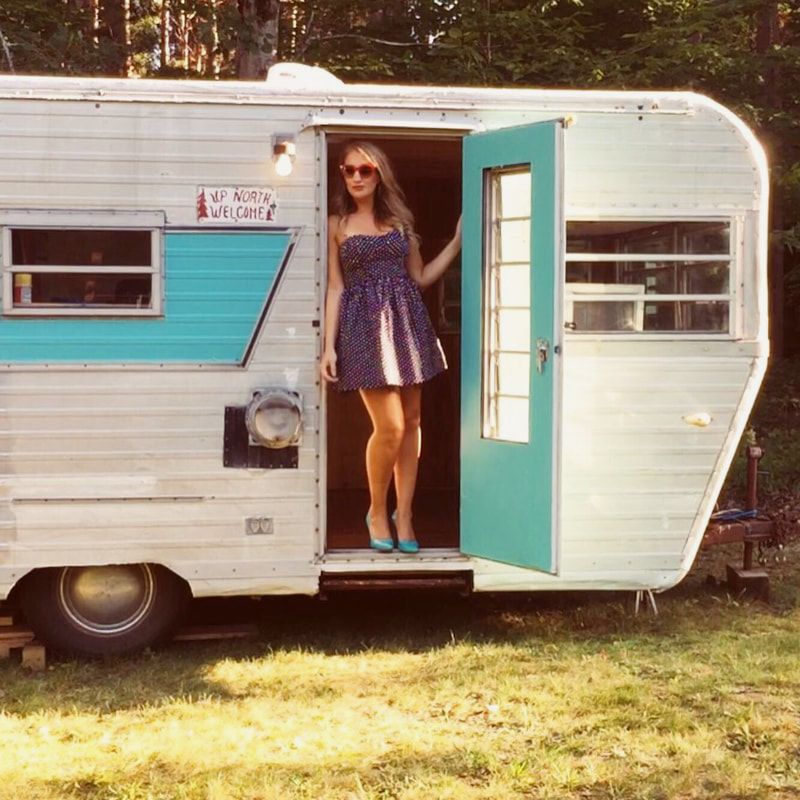 The exterior stripe and door color were inspired by this pair of shoes and the word that always makes me laugh, "glamping."
|
DetailsMy name is Jenny. I'm a hand engraver but I also am a creative who has a tough time sitting still. My mind is always swirling with new project ideas. In between engraving, I like to jump in and out of other activities like restoring a vintage camper, redecorating my home, woodworking and print making (just to name a few). Archives
June 2022
Categories
All
|


 RSS Feed